Uploading proper images for our products is crucial for a good customer experience on our website. Having blurry images gives the customer a bad experience, while having images that are too big makes our website load slower.
BEFORE SETTING A PRODUCT IMAGE
Make sure you’ve found a suitable FRONT FACING image. Usually these can be found on the manufacturers website. We can only use images from the Brand or Suppliers websites. Do not take images from anywhere else.
Bring the image into photoshop and resize it to 1100px by 1100px
Make sure the image has a white background. We don’t want lifestyle images as the main image. Leave a bit of white space around the product.
If you’re uploading speakers. Make sure to show the appropriate amount
EXAMPLE
One Speaker – Image should show ONE Speaker Two Speaker – Image should show TWO Speakers
Once you have your image properly sized at 1100px by 1100px with a white background. Make sure you name it properly.
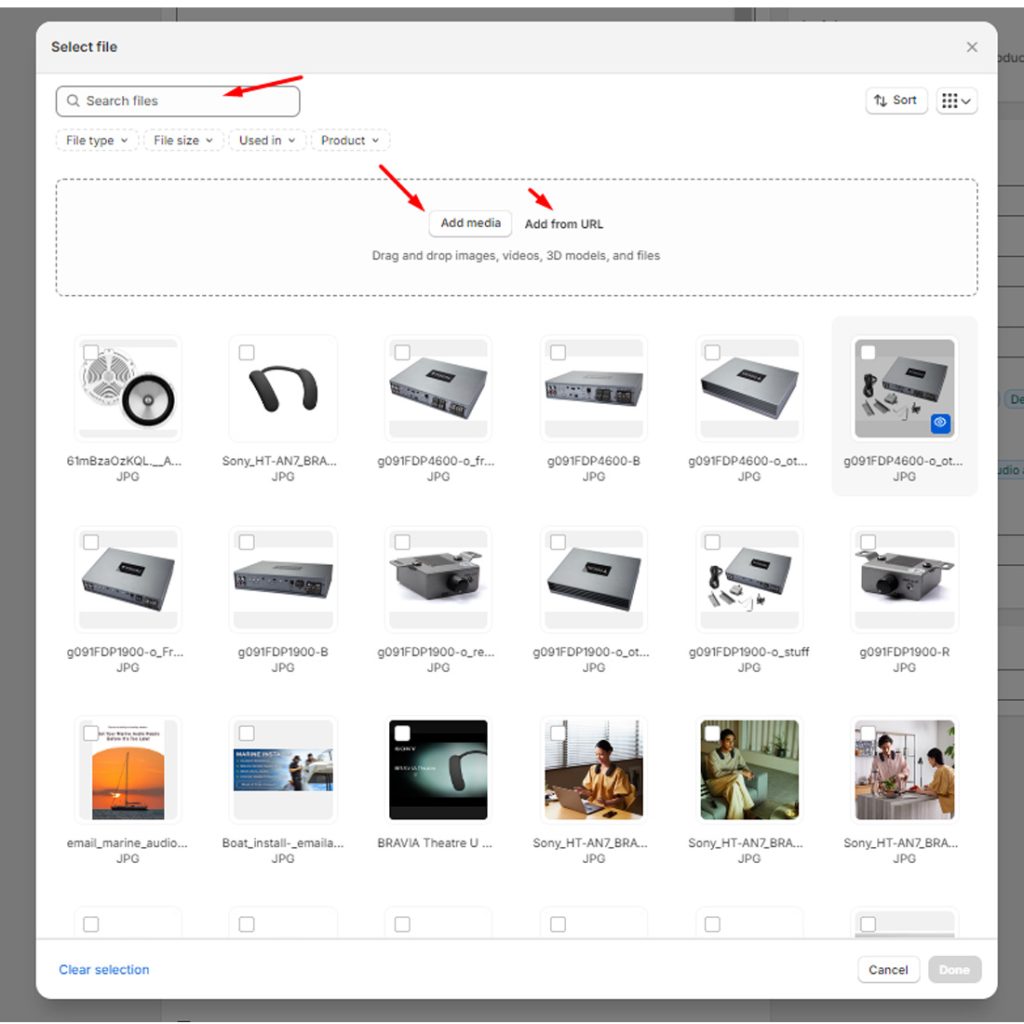
Click on the image
Drag and drop your photo into the window, upload with URL or select from images already uploaded.
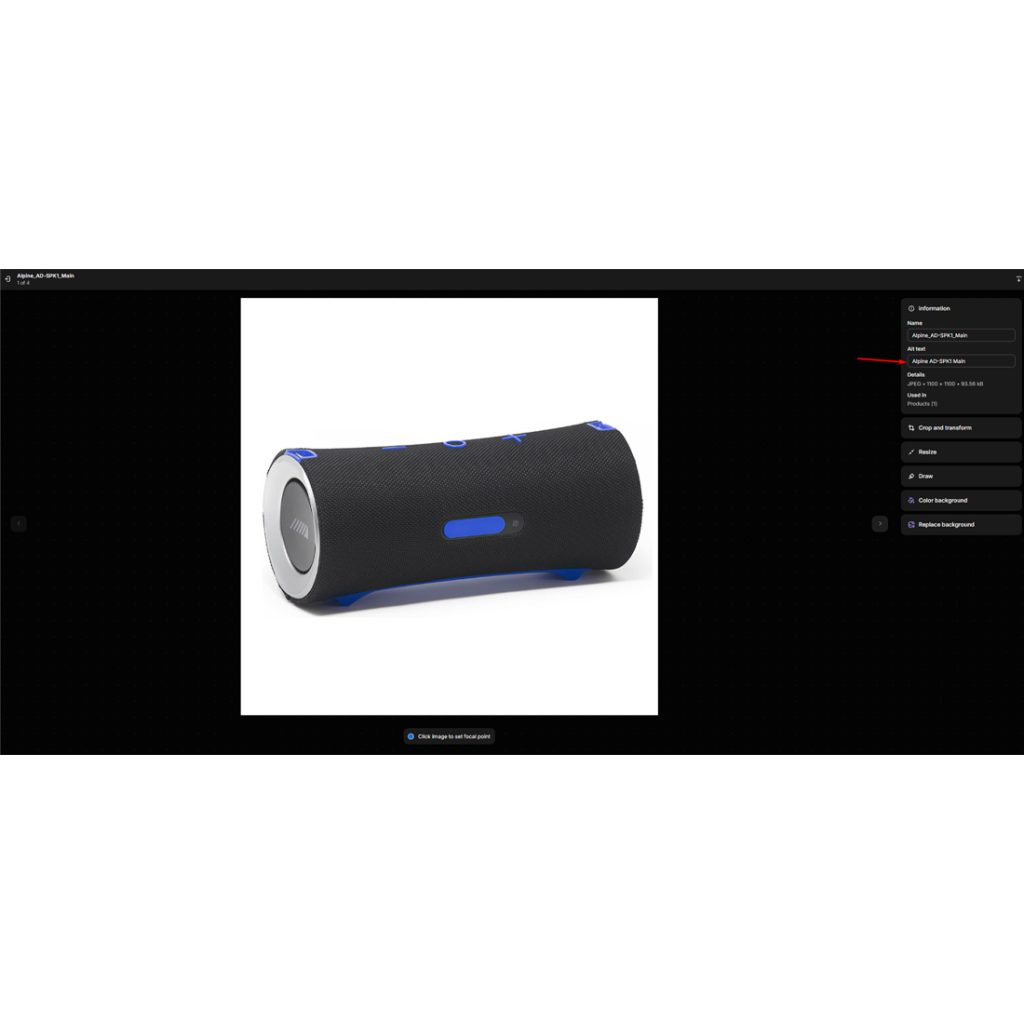
Copy paste your image title to the Alt Text (This is to help people who have screen readers and google identify what your image is)the image
Alt text can be added in 2 places
On the product page, click on the image and you can add.
Content
Adding Videos
Videos can be added in the same place as images however videos will need to be embedded. Original video will look like this “https://youtu.be/FtkXdu0j3Ko” in order to embed you will need to change URL to this “https://youtube.com/embed/FtkXdu0j3Ko”
Videos are a great way to gain attention and give additional details about the brand and product to the customer. You may only add videos from the manufacturer any other video made by a vlog is not allowed.